INSTRUCTIONS - VIDEOS
KERATIN HAIR TREATMENT INSTRUCTION AND VIDEOS
Bellow you will find application instructions for all our keratin hair treatments. Select "VIEW" for instructions and video.
INVERTO 60 NATURAL HAIR VIEW
INVERTO 60 BLONDE HAIR VIEW
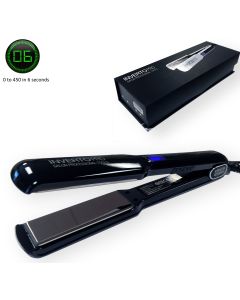
INVERTO ONE VIEW
TREAT WASH N' GO VIEW
ORIGINAL HAIR TREATMENT VIEW
FORTE HAIR TREATMENT VIEW
GOLD LABEL TREATMENT VIEW
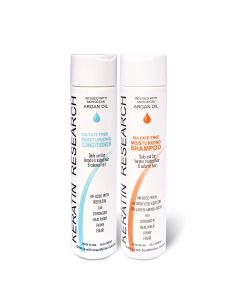
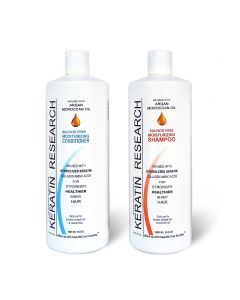
To maintain your treatment please wash your hair with Keratin Research sulfate free shampoo and conditioner, using this set is important as these products are compatible and matched by performance. .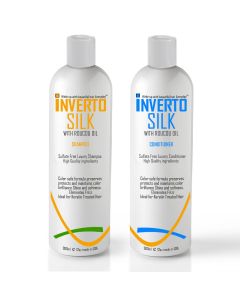
My Wish List
Last Added Items
You have no items in your wish list.