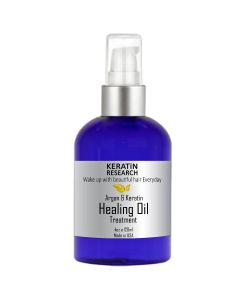
INSTRUCTIONS: INVERTO 60 FOR NATURAL HAIR
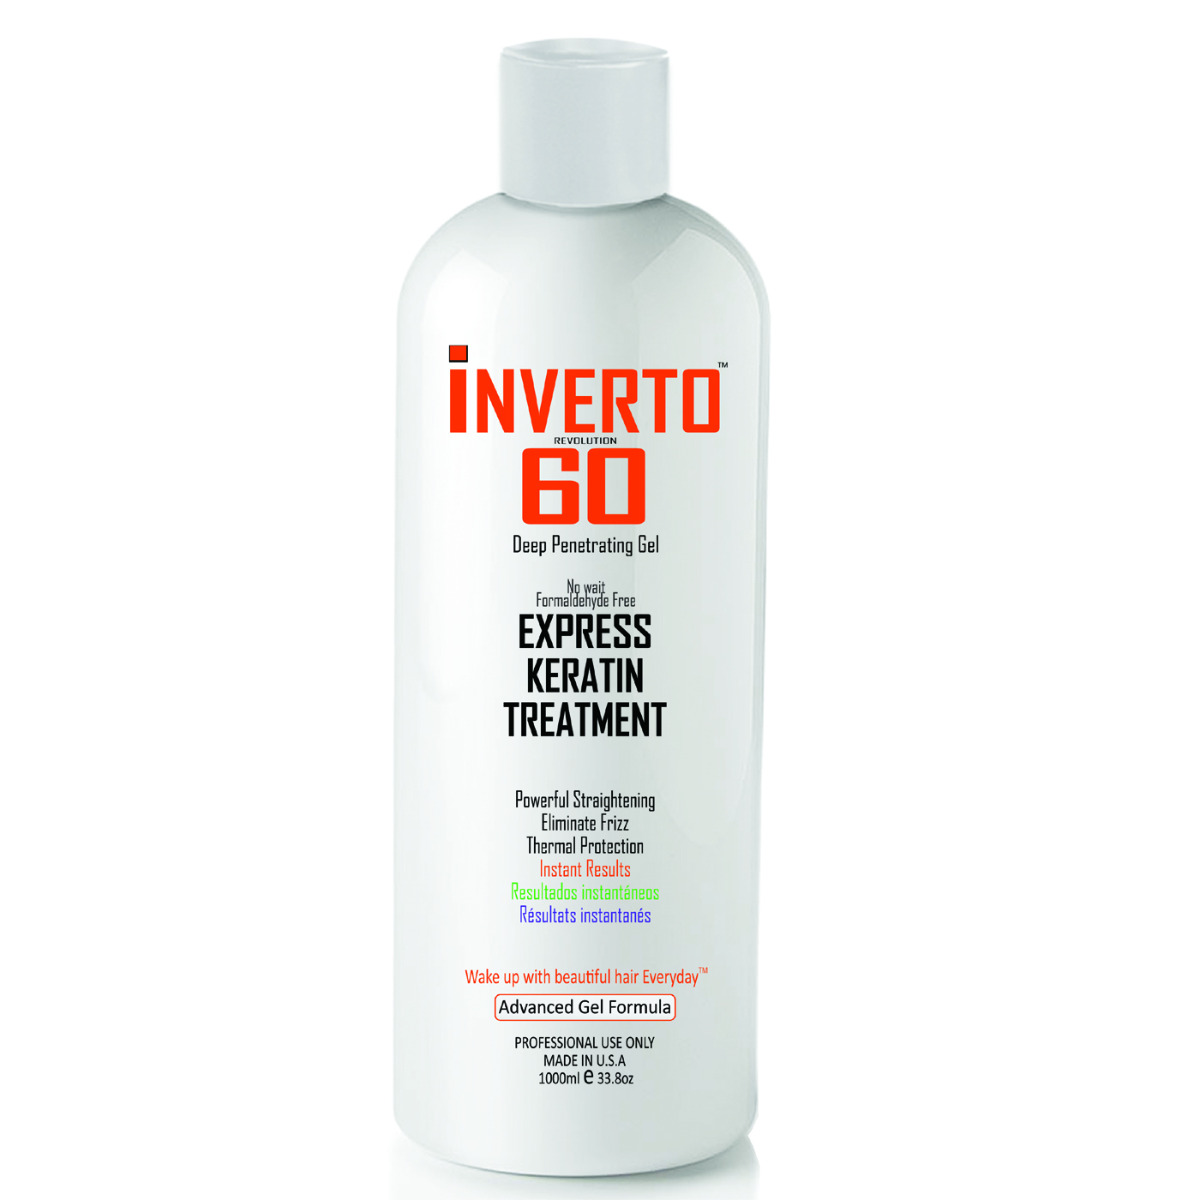
APPLICATION INSTRUCTION FOR INVERTO 60 (Natural hair=Not colored reds, blondes etc)
(KERATIN HAIR TREATMENT)
FORMALDEHYDE FREE
*FOR BLONDE, RED, COLORED HAIR= PLEASE USE INVERTO 60 FOR BLONDE HAIR.
WARNING; Use as directed, may be harmful if swallowed, inhaled, or absorbed through skin. When applying this product, use gloves. Avoid contact with eyes, may cause skin, eyes. In case of skin or eye contact, flush with water and consult a physician if needed.
CAREFULLY read all instructions and precautions prior to using the product. To avoid undesired effects and compatibility issues. Please perform an Allergy Patch Test: Apply a small amount to an inconspicuous part of your body, like behind your ear, and then wait 24 hours to see how your skin reacts. Most likely it may itch for 10-20 minutes and stop. If you are still experiencing a severe itching and/or burning sensation, do not use it.
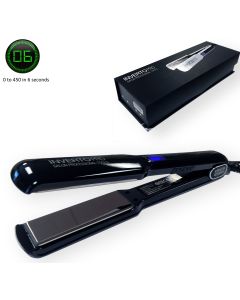
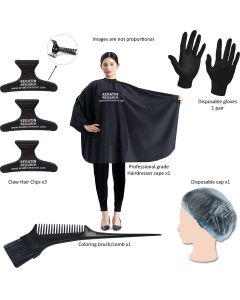
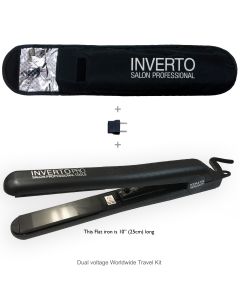
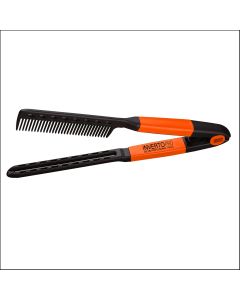
*Before you start: you will need the following: Gloves, Cape or a shirt you dont care for, bowl, brush, shower cap or plastic food wrap, blow dryer, flat iron capable of 450F, large hair clips, fine tooth comb (you need it to spread the product evenly), Easy comb and/or heat resistance comb (optional). Work in a ventilated area and read all related warnings on the product. Please do not assume instructions of other products.
STEP 1-
Clarifying Shampoo: Wash the hair with clarifying shampoo twice; this will enable the opening of the cuticles. Rinse well and blow-dry. You may notice that it is hard to comb and that is normal after using clarifying shampoo. Towel-dry.
STEP 2-
Application Easy method: Wear gloves and place a manageable amount of the treatment in the palm of your hand. Apply to your hair from the root to the tip of your hair, to help distribute it better use a fine-tooth comb to push the product down and remove excess product. Massage the treatment into your hair, but do not massage the product onto your scalp, and make sure it is evenly saturated. Loop the hair around your head in a circular pattern so the hair stays saturated, place plastic wrap or a shower cap over your hair to prevent it from air-drying and wait. Wait 60 to 90 minutes (90 for thick/curly hair) Do not heat the hair while waiting.
Salon method (takes longer saves product): Wear gloves use a coloring brush and start applying the treatment product on small group of hair, one at a time, from the bottom of the Back section, from the root down spreading the product evenly to the tips of the hair and make sure it is evenly saturated. Loop the hair around your head in a circular pattern so the hair stays saturated, place plastic wrap or a shower cap over your hair to prevent it from air-drying and wait. Wait 60 to 90 minutes (90 for thick/curly hair). Do not heat the hair while waiting.
STEP 3 -
Blow dry. After waiting 60-90 minutes, wear gloves, remove the cover from the hair, squeeze excess product from the hair as much as you can and discard it. Blow-dry the hair 90% using high heat. Yes while the product is on the hair. You may use a round brush and a thick comb to make it easier for the next step of flat ironing. Straight detangled hair makes it better and easier to work with. IMPORTANT: When drying the hair you will notice that it remains a little oily, That’s ok it doesn’t have to be completely dry. You are drying the water first. The oily remains create a protective film and some essential ingredients to smooth your hair.
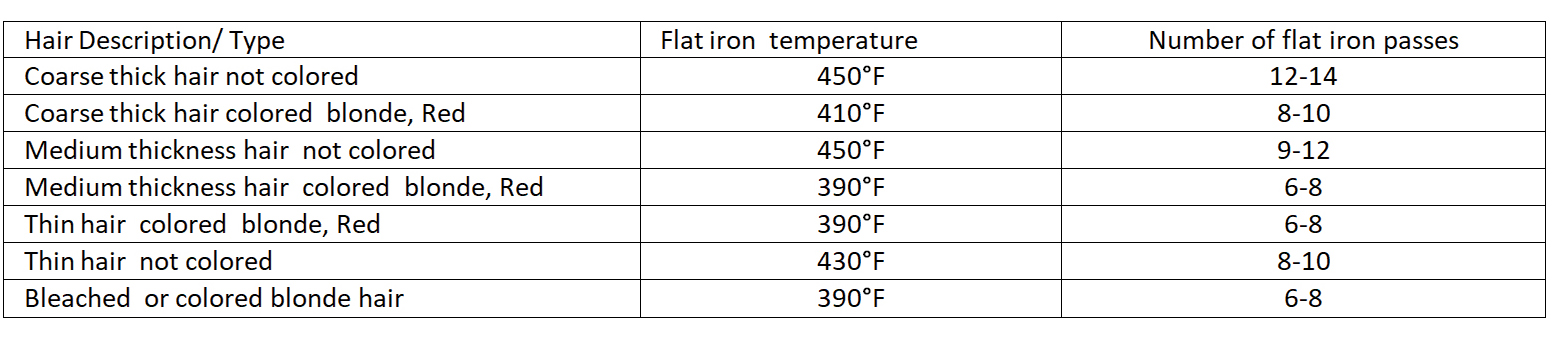
STEP 4 Flat ironing:
Separate the hair into 3 groups Left, Right, and Back (optional). Start ironing the hair using small strands according to the Table below. Important to flat iron small strands and not large groups because the flat iron will not seal the hair properly When done ironing wait at least 20 minutes for the hair to cool down before washing it with sulfate-free shampoo and conditioner. The hair can be washed later on too. You may use moisturizing hair masks if you feel that your hair came out dry.
Thats all enjoy your hair.
----------
After care:
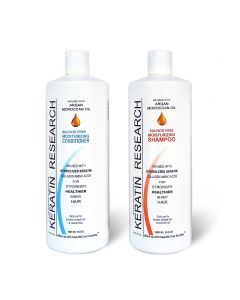
Q: Which shampoo and conditioner should I use after a keratin treatment?
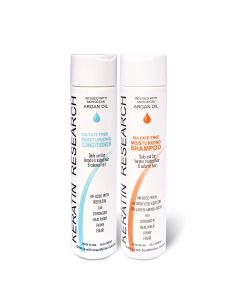
We recommend using Keratin Research shampoo and conditioner sets. They are specially formulated to work with and extend the results of our keratin treatments.
Q: Where can I buy Sulfate-free shampoo and conditioner?
You can purchase Sulfate-free shampoo and conditioner directly from our official website, where we ship quickly and daily. They may also be available through other trusted online retailers.
Q: Do you sell tools and accessories for applying the keratin treatment?
Yes! We offer a full range of professional tools and accessories—durable, reasonably priced, and backed by our warranty. You can find them here: Keratin Research Pro Tools
Q: Can I swim after getting a keratin treatment?
Yes, you can swim. However, frequent exposure to chlorine or salt water may cause the treatment to fade more quickly. Occasional swimming is perfectly fine, but if you swim daily—or almost daily—in pools or the ocean, expect the results to wear off faster than usual.
Q: How long does the keratin treatment last?
Results typically last 3 months or more, and in some cases up to 9 months, depending on hair type and care. About 90% of customers achieve great results on their very first treatment, while regular applications can make the effects last even longer. avoid shortcuts, especially the first time. Regular applications help maintain smoother, more manageable hair and save you valuable styling time every day.
Q: Should I color my hair before or after a keratin treatment?
-
Dark hair root touch-ups: Color at least 1 day before or 3 days after the treatment.
-
Hair bleaching: Do this at least 5–7 days before the treatment, since bleaching weakens the hair and needs recovery time.
-
Highlights: Best done 3 days after the treatment.
-
Dark color over natural dark hair: Color at least 1 day before or 3 days after the treatment.
-
Any color over gray hair: Wait 3 days after the treatment.
-
Blonde or red root touch-ups: Wait 3 days after the treatment.
Instruction video
Note: The video may feel a bit long, but it was intentionally designed this way. Its purpose is to demonstrate and explain every possible technique—application, blow-drying, combing, and more. By watching, you’ll discover both quick shortcuts and advanced professional methods that can significantly improve your results while also extending the life of the treatment. Many professionals have already mastered this product and are achieving outstanding, consistent results.